Spellbinders BetterPress Registration

Wednesday, March 13, 2024

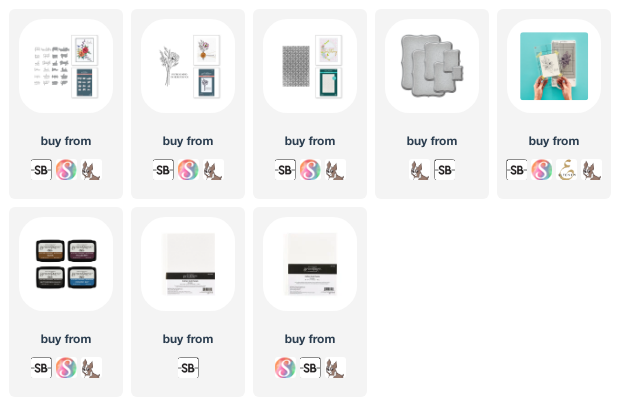
Hi friends. I have another card to share with you featuring the beautiful Blooming Garden press plate from Spellbinders. If you missed either of my first two posts using this set, click here and here.

This card is very clean and simple and all I did was ink up the press plates using black, red, and yellow inks. I mounted the pressed panel onto a piece of black card stock and then everything was added to a white A2 notecard. How great would a set of these be to give as a gift? 

I hope you have a wonderful day. Thanks for your visit and crafty hugs! ~ Alanna

  ***Affiliate links used for some products at no additional cost to you. Thanks for your support in running this blog***

Celebrate with Spellbinders

Monday, March 11, 2024

Hello friends. I am excited to share this quick and easy card with you that features the brand-new Celebrate Flowers Registration press plate from Spellbinders, designed by Yana Smakula. 

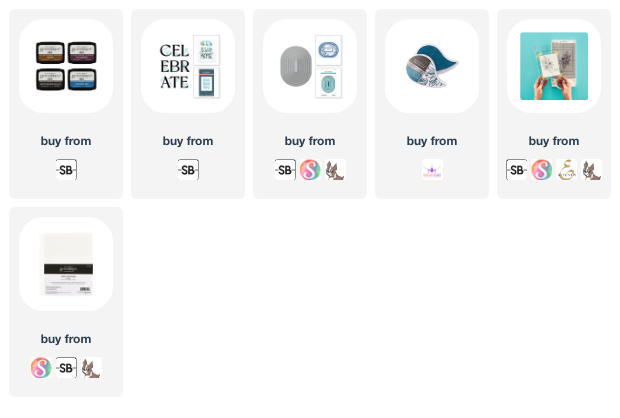
To get started, I took the Celebrate Flowers press plate and inked it up with the Tropic Blue Pearlescent Ink from Spectrum Noir and the black BetterPress ink using the guide that is included in the set to get the perfect placement for the florals. 

After this was done, I die cut the panel using one of the Stylish Oval dies.

I took a piece of patterned paper from my stash and added it to a white A2 notecard. I then added my focal panel with foam tape and finished off the card with some heart gems.

I hope you have a wonderful day. Thanks for your visit and crafty hugs! ~ Alanna
  ***Affiliate links used for some products at no additional cost to you. Thanks for your support in running this blog***

Spellbinders BetterPress Inspiration

Thursday, March 7, 2024

Hi friends. I'm back today with a card featuring the beautiful Sealed Florals BetterPress plate from Spellbinders. To get started, I took a piece of their Porcelain cotton card panels and lightly blended on some blue and pink inks. I then pressed on the floral image from the Sealed Florals set using the BetterPress black ink which is part of the Regal Tones ink set. The sentiment is from a different press plate set, the A Little Message Sentiments press plate and die set.

I die cut this panel using one of the dies from the Labels Eight set. I then took the Circle Illusions 3D embossing folder and ran it through my Platinum 6 machine with white card stock. I trimmed it down to just smaller than A2 size and added it to a white A2 notecard. 

I added on my focal panel with some thin foam tape and some silver gems finish off this card.


I hope you have a wonderful day. Thanks for your visit and crafty hugs! ~ Alanna 
 ***Affiliate links used for some products at no additional cost to you. Thanks for your support in running this blog***

Having fun with Dinkles

Friday, March 1, 2024

Hello friends. I have a fun card to share with you today using some Dinkles Ink Powders from Lavinia. If you've never heard of these, they are very pigmented powders that react with water. 

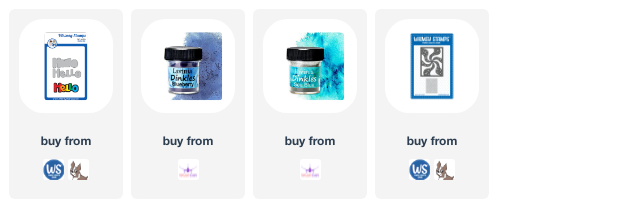
To get started, I took a piece of watercolor card stock and added some Blueberry and Blue Dragon Dinkles powders on top of it. You just need a little bit. I then spritzed the panel with lots of water. I did this a couple of times, making sure to dry my panel in between. 

Once the panel was dry and I was happy with it, I die cut it using the Twinkle Swirl die from Whimsy Stamps. I then die cut the same die from some grey card stock. I added the colorful background to an A2 notecard and then inlaid the center portions of the grey piece in. I then took the Hello Word and Shadow die set and die cut both layers from the same grey card stock and added it on top of everything and that completes this fun card.
I hope you have a wonderful day. Thanks for your visit and crafty hugs! ~ Alanna 
  ***Affiliate links used for some products at no additional cost to you. Thanks for your support in running this blog***

Spellbinders Press & Place Registration

Monday, February 26, 2024

Hello friends. So, Spellbinders came out with a collection of two press plates, in their Press & Place Registration collection. These plates are brilliant because with the template that is provided, you can create a colorful background like this with multiple colors. The template assures that you line up each of the press plates in just the right spot. If you missed my first card using this set, click here

For this card, I am using the Blooming Garden press plate. I inked it up with several colors and then die cut the panel using a die from the Essential Arches die set. I then took a piece of patterned paper from Lawn Fawn and added it to a white A2 notecard. I added the focal image with foam tape and added in some gold gems to finish off the card. 


I hope you have a wonderful day. Thanks for your visit and crafty hugs! ~ Alanna 
  ***Affiliate links used for some products at no additional cost to you. Thanks for your support in running this blog***

Spellbinders February 2024 Club kit Inspiration

Friday, February 23, 2024

Hi friends. I have two different cards to share with you today, both using the February 2024 stamp of the month club kit from Spellbinders. You can purchase just the stamp set for $10 which includes free shipping in the USA or for $17.50, you can get both the stamp set and coordinating dies, again with free shipping in the USA.

For my first card, I started by stamping the large focal image from the February 2024 stamp club kit with gold ink onto white card stock. When it was dry, I die cut the image using the coordinating dies. How awesome is that die to cut out all of the insides? I just love it.

I embossed the February 2024 embossing folder of the month onto black card stock and then added some gold splatter on top of it. I added this panel to a piece of gold mirror card stock and then added it to a white A2 notecard. 

I then die cut the coordinating frame die two more times from white card stock and stacked everything together for dimension and strength. I added this to my card and then finished it off with a sentiment which is included in the February 2024 stamp of the month. And if you get the coordinating die set, there are dies to cut out several of the sentiments which is awesome!

For my second card, I followed the same steps primarily but this time, instead of using the coordinating dies to cut out my focal panel, I used one of the dies from the Essential Arches die set - a match made in heaven. On this panel, I went even heavier with the splatter and also added some white splatter. I think it's a bit too much but hey, it's okay, right? :)

I used the same embossing folder and sentiment set on this second card that I did on the first.

I am super excited to send these cards out to friends as I love how they turned out.
I hope you have a wonderful day. Thanks for your visit and crafty hugs! ~ Alanna 
  ***Affiliate links used for some products at no additional cost to you. Thanks for your support in running this blog***

Congratulations

Thursday, February 22, 2024

Hi friends. I have a fun card to share with you today. To get started on it, I took the frame image from the new Handmade Weirdo set from Whimsy Stamps and stamped it repeatedly with grey ink onto a white A2 notecard. 

I then took some Distress Mica Stain in the Wonderland color and sprayed just a bit onto it. I then took a piece of paper from the 6x6 Rainbow paper collection and die cut it using the Congratulations Word & Shadow die. I die cut the shadow portion from black card stock two times and then adhered them together. 

I added this to the card base and then added a supporting sentiment which is from the Simple Sentiment Strips stamp set. Some clear gems finish off the card. And then it was at this point that somehow, I got a big smudge on one of the sides with black ink. So, I trimmed both sides down a bit, so my card is now a bit smaller than the standard A2 size. :)

I hope you have a wonderful day. Thanks for your visit and crafty hugs! ~ Alanna
  ***Affiliate links used for some products at no additional cost to you. Thanks for your support in running this blog***

Declarations

I work with the following companies and do receive product from them to use on this blog on occasion; however, all opinions are my own and I would never promote anything or any store that I don't believe in

Whimsy Stamps


I also participate in several affiliate programs. If you click on links to those stores and make a purchase, I receive a small commission that is used in the costs of running this blog. Thank you for your support
Made With Love By The Dutch Lady Designs